Some IE/IIS issues may involve client certificate. It always took me hours to deploy a test website that requires client certificate. Therefore, I am going to write this blog to record every steps including: creating self-signed root CA, server certificate, client certificate and configuring IIS.
Prerequisites
| Item | Content |
|---|---|
| Domain | iislab.com |
| IIS server | iis-lab-server @ Windows Server 2012 R2 Standard |
| Client machine | iis-lab-client @ Windows 7 Enterprise |
| Applications | makecert.exe and pvk2pfx.exe. You can find the two EXEs from a system with Visual Studio installed. On a Windows 10 x64 PC with VS2015 installed, you can get them from: C:\Program Files (x86)\Windows Kits\10\bin\x64. For your convenience, I've packaged the files and shared them at: https://jojiblog.blob.core.windows.net/files/blog/makecert_pvk2pfx.zip |
Step 1: Creating self-signed root CA
Create directory:
c:\certon the IIS server.Copy makecert.exe and pvk2pfx.exe to
c:\cert.Save following content as
c:\cert\CreateCARoot.cmd.makecert.exe ^ -n "CN=IIS Lab CARoot" ^ -r ^ -pe ^ -a sha512 ^ -len 4096 ^ -cy authority ^ -sv CARoot.pvk ^ CARoot.cer pvk2pfx.exe ^ -pvk CARoot.pvk ^ -spc CARoot.cer ^ -pfx CARoot.pfx ^ -po Password1Run CMD and execute
c:\cert\CreateCARoot.cmd.Enter password:
Password1in following three password prompt dialogs.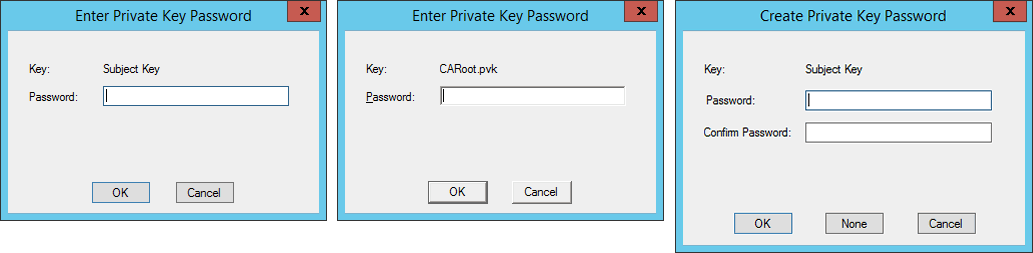
It will create three files:
CARoot.cer,CARoot.pfxandCARoot.pvk.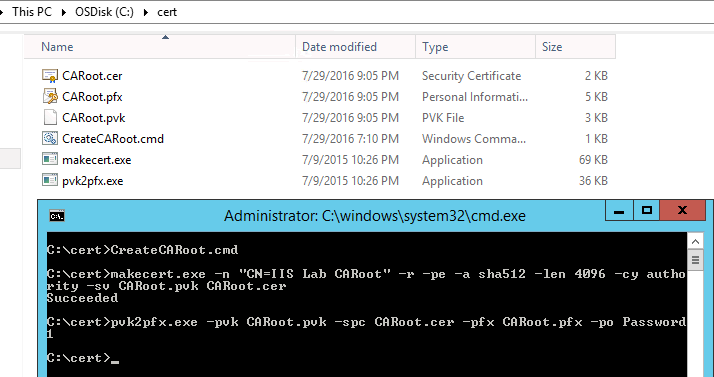
Run
mmcon the IIS server to launch Console.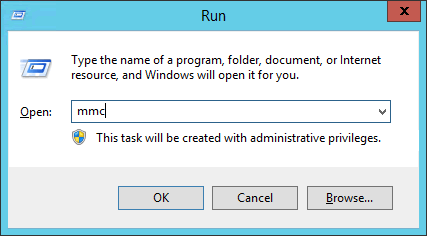
Press
Ctrl+Mor clickFile → Add/Remove Snap-in, selectCertificates, clickAdd >.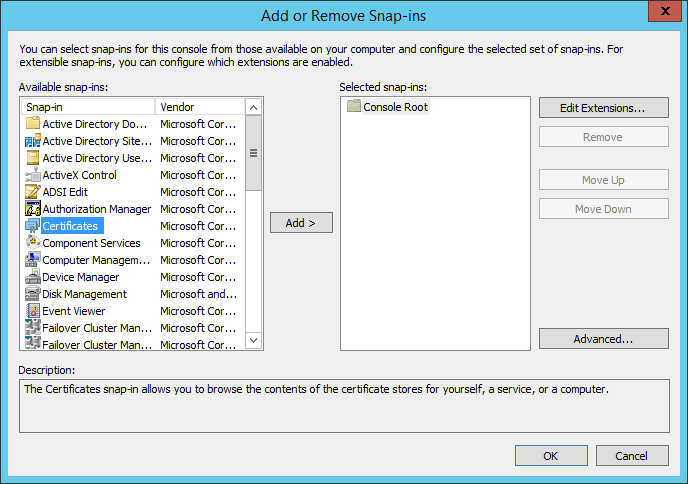
Choose
Computer accountand then clickNext.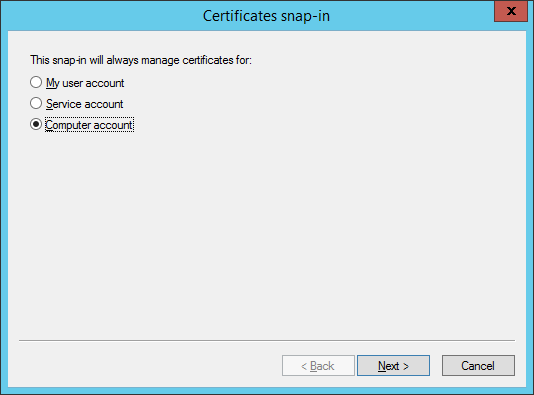
Keep default settings, click
Finish, then clickOK.Right click
Trusted Root Certification Authorities → Certificate, chooseAll Tasks → Import.
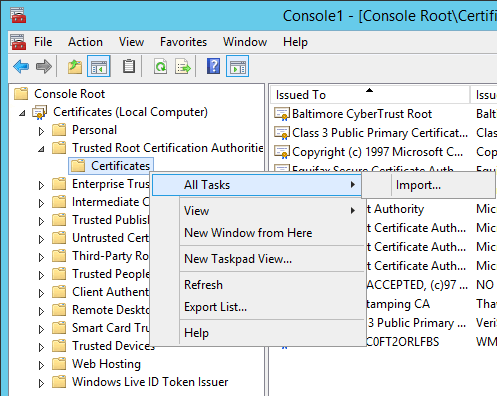
- Click
Next, choose the self-signed root CA:CARoot.cerand then clickNext.

- Keep default settings, click
Nextand then clickFinish. - The self-signed CA root will appear in the list.
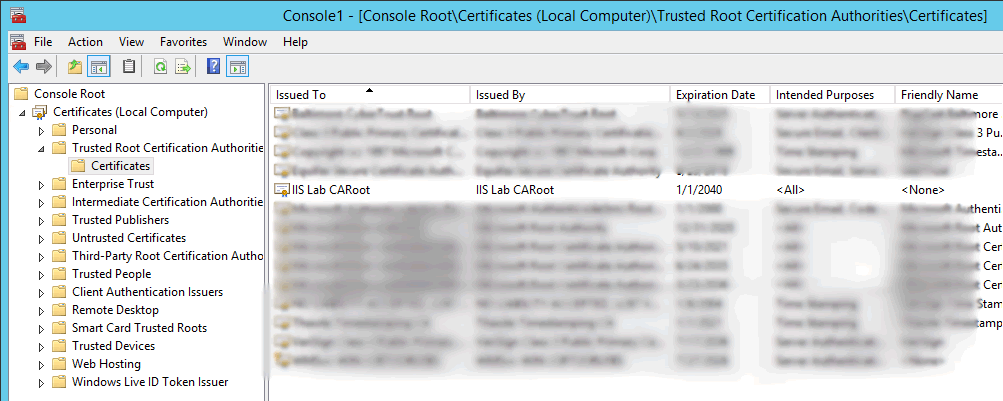
- Copy the
CARoot.certo the client machine and import it using the same steps.
Step 2: Creating self-signed server certificate
Save following content as
c:\cert\CreateServerCertificate.cmdon the IIS server.makecert.exe ^ -n "CN=iis-lab-server.iislab.com" ^ -iv CARoot.pvk ^ -ic CARoot.cer ^ -pe ^ -a sha512 ^ -len 4096 ^ -b 01/01/2014 ^ -e 01/01/2040 ^ -sky exchange ^ -eku 1.3.6.1.5.5.7.3.1 ^ -sv ServerCert.pvk ^ ServerCert.cer pvk2pfx.exe ^ -pvk ServerCert.pvk ^ -spc ServerCert.cer ^ -pfx ServerCert.pfx ^ -po Password1Run CMD and execute
c:\cert\CreateServerCertificate.cmd.Enter password:
Password1in all password prompt dialogs.It will create three files:
ServerCert.cer,ServerCert.pfxandServerCert.pvk.Go to the Certificate Console on the IIS server, right click
Personal → Certificate, chooseAll Tasks → Import.Change the file extension to
*.pfx*when selecting certificate and chooseServerCert.pfxwe just created.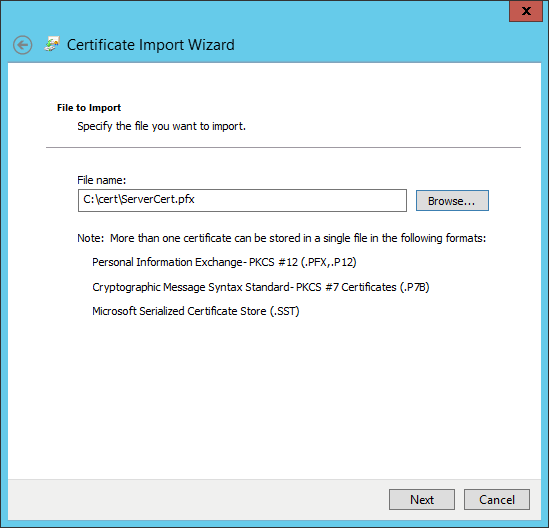
The self-signed server certificate will appear in the list.

Step 3: Creating self-signed client certificate
Save following content as
c:\cert\CreateClientCertificate.cmdon the IIS server.makecert.exe ^ -n "CN=AnyClientInIISLab" ^ -iv CARoot.pvk ^ -ic CARoot.cer ^ -pe ^ -a sha512 ^ -len 4096 ^ -b 01/01/2014 ^ -e 01/01/2040 ^ -sky exchange ^ -eku 1.3.6.1.5.5.7.3.2 ^ -sv ClientCert.pvk ^ ClientCert.cer pvk2pfx.exe ^ -pvk ClientCert.pvk ^ -spc ClientCert.cer ^ -pfx ClientCert.pfx ^ -po Password1Run CMD and execute
c:\cert\CreateClientCertificate.cmd.Enter password:
Password1in all password prompt dialogs.It will create three files:
ClientCert.cer,ClientCert.pfxandClientCert.pvk.Copy
ClientCert.pfxto the client machine.On client machine, go to Management Console, add a new certificate snap-in, choose
My user accountthis time (notComputer account).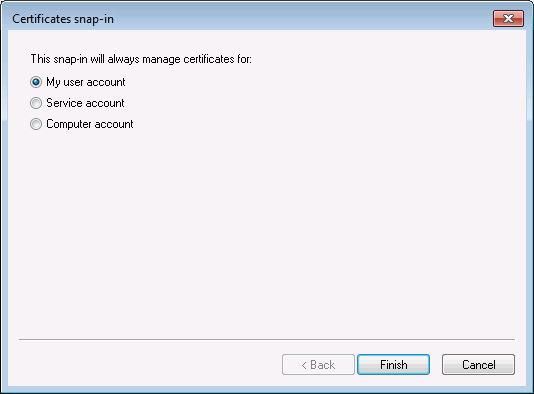
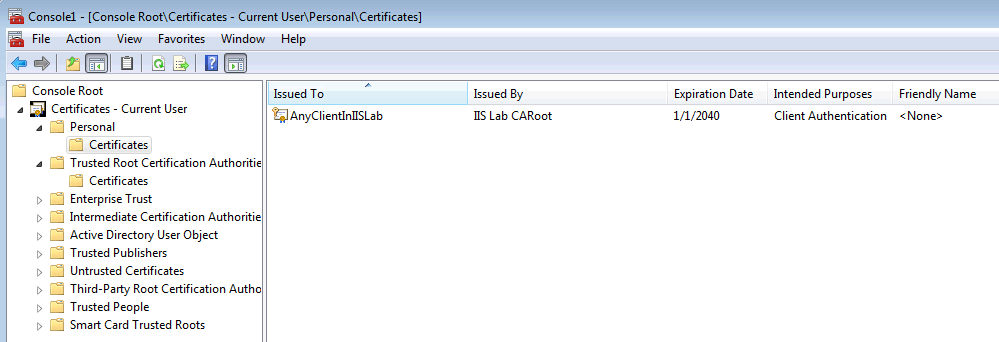
Import
ClientCert.pfxintoCurrent user → Personal → Certificateon the client machine, the password isPassword1.The self-signed client certificate will appear in the list.
Step 4: Creating IIS website that requires client certificate
Install IIS onto the IIS server, make sure that security components:
IIS Client Certificate Mapping AuthenticationandClient Certificate Mapping Authenticationare installed together.
Open IIS manager (inetmgr.exe), there is a
Default Web Site, next we will configure it to require client certificate.Right click
Default Web Siteand clickEdit Bindings....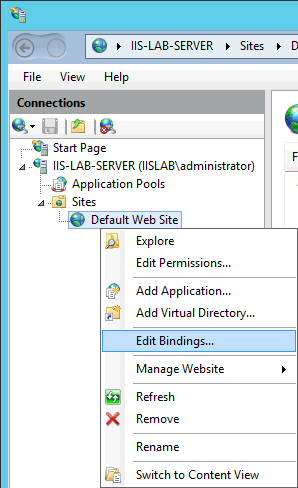
We are going to add HTTPS 443 port for
Default Web Site. ClickAdd, selecthttpsforType, choose the self-signed server certificate we created in step 2 forSSL Certificate.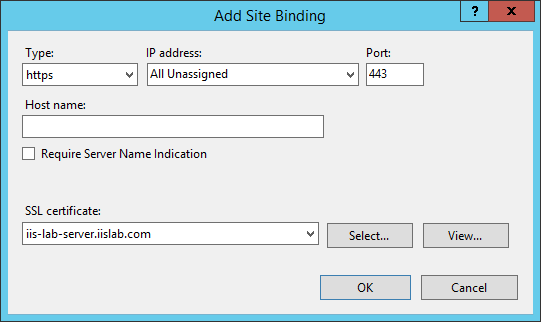
Default Web Siteis now a HTTPS site, we can verify it by browsing to https://iis-lab-server.iislab.com from the client machine.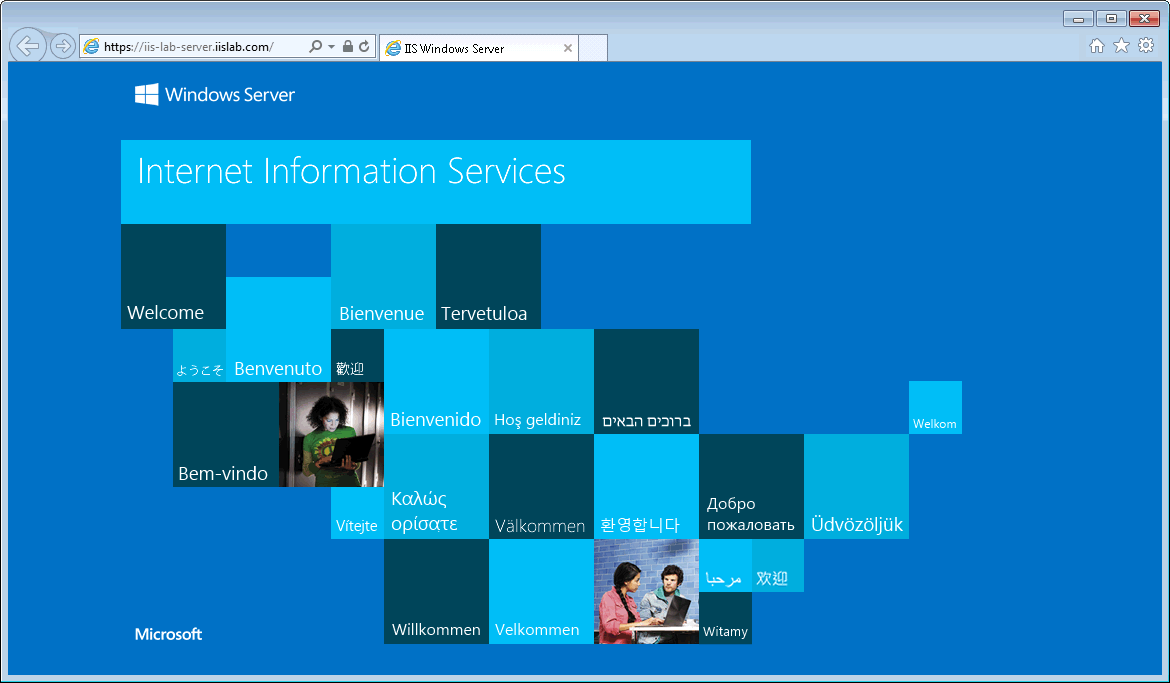
However the website currently does not require any client certificate, next let's configure it to use client certificate.
Go to
Default Web Site→SSL Settings.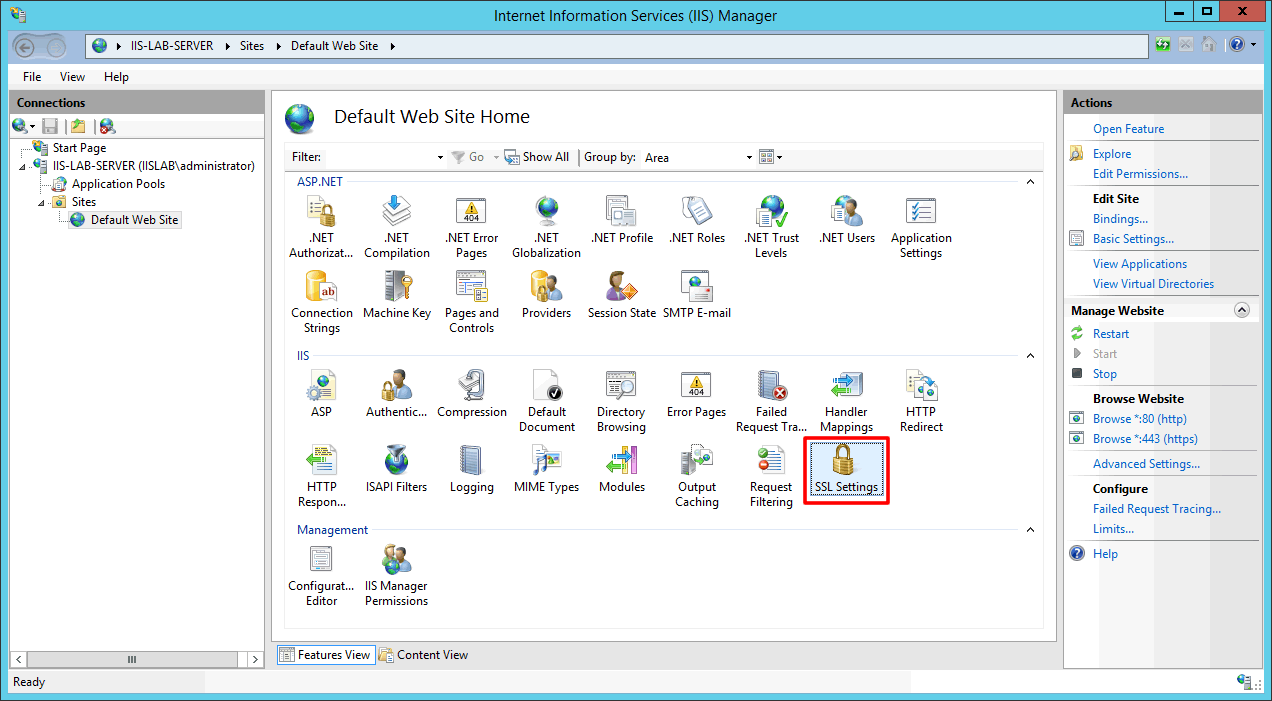
Enable
Require SSL, chooseRequireforClient certificateand then clickApplyto save the settings.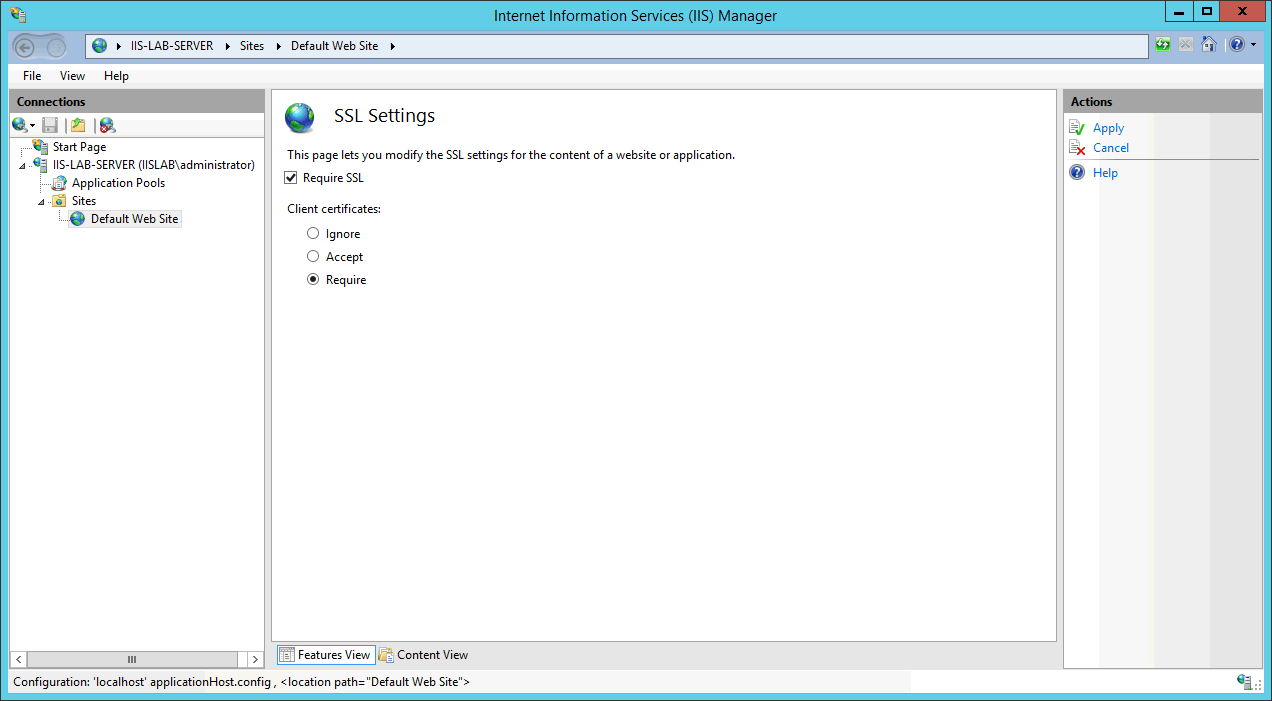
Now we can use the client certificate to authenticate the website, next we are going to configure many-to-one certificate mapping.
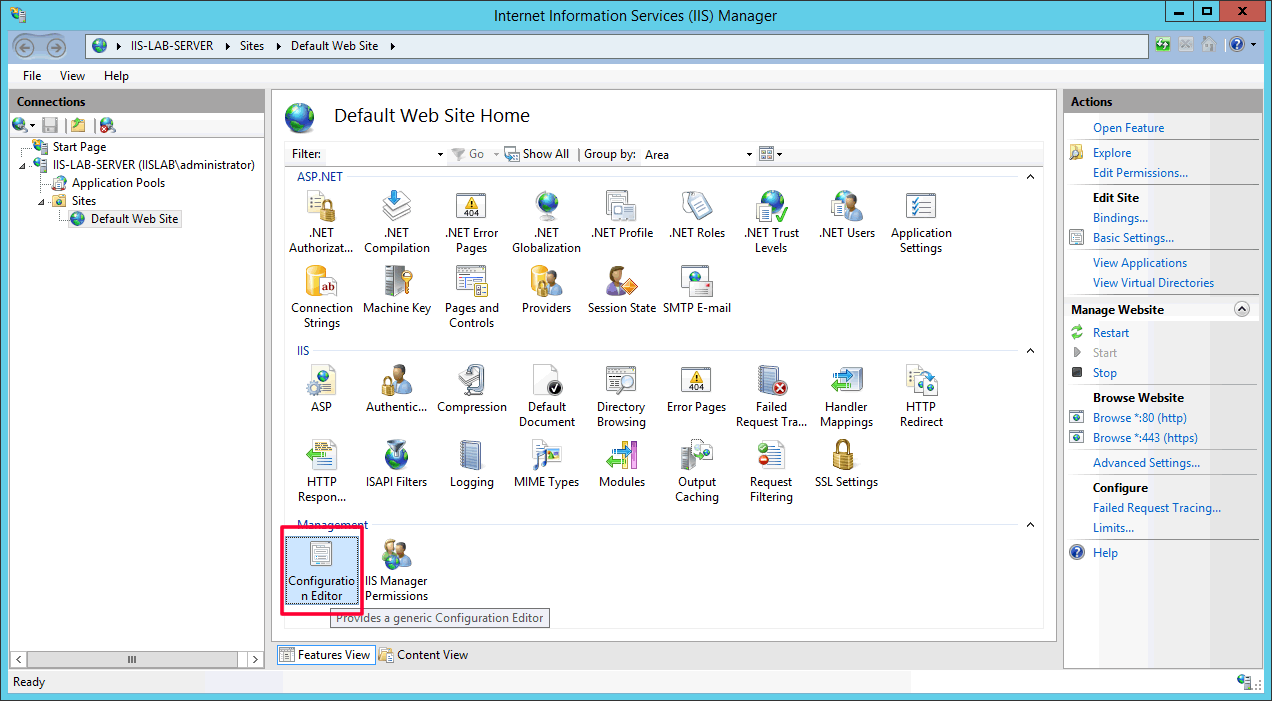
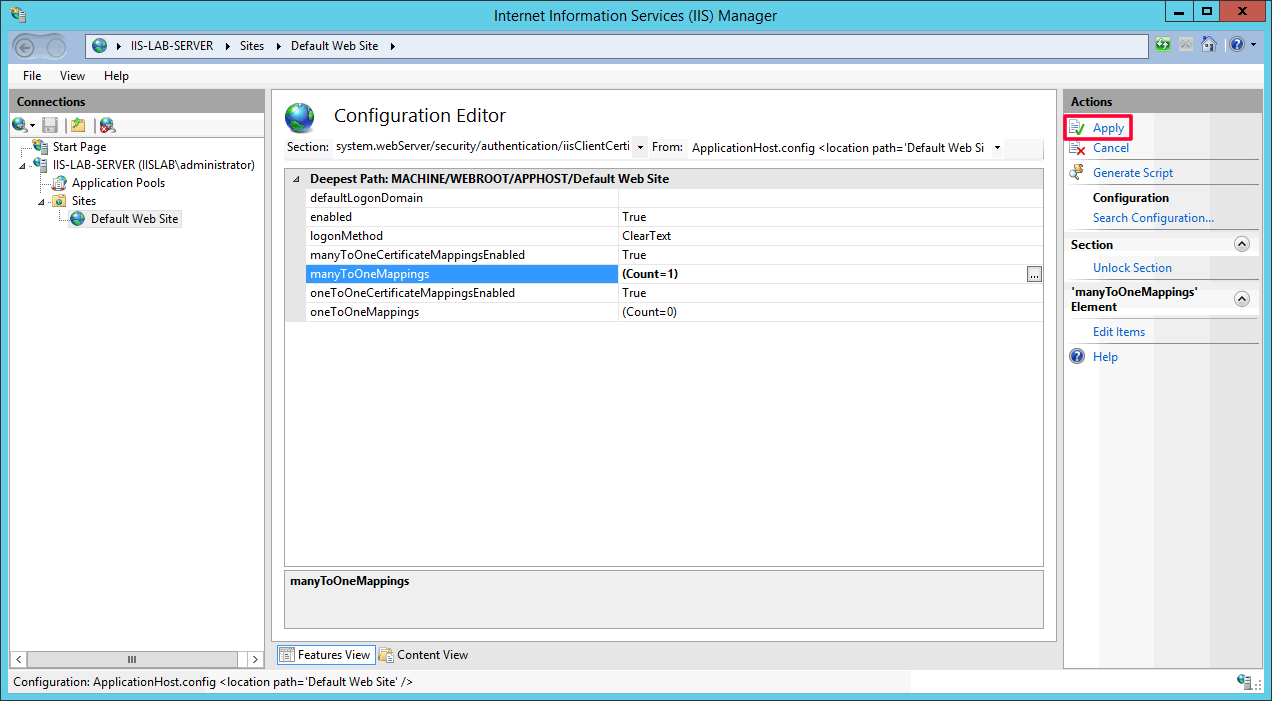
Go to
Default Web Site→Configuration Editor.
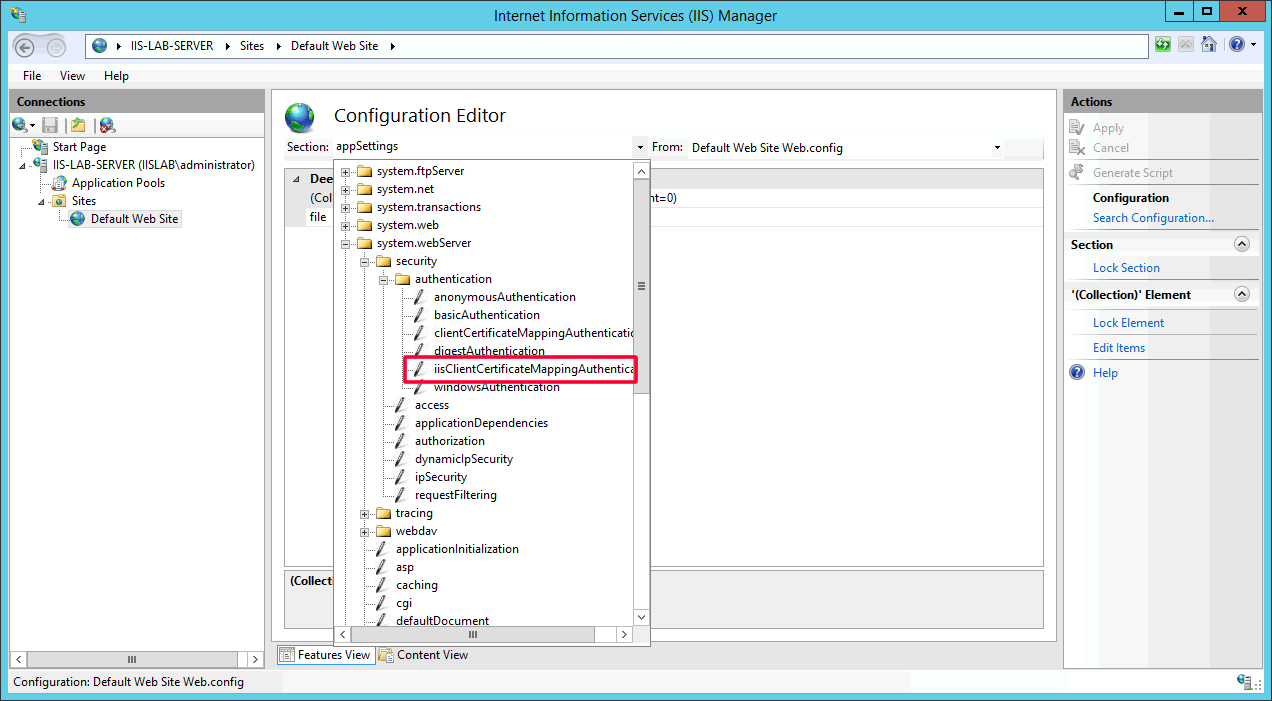
- Select section:
system.webServer/security/authentication/iisClientCertificateMappingAuthentication.
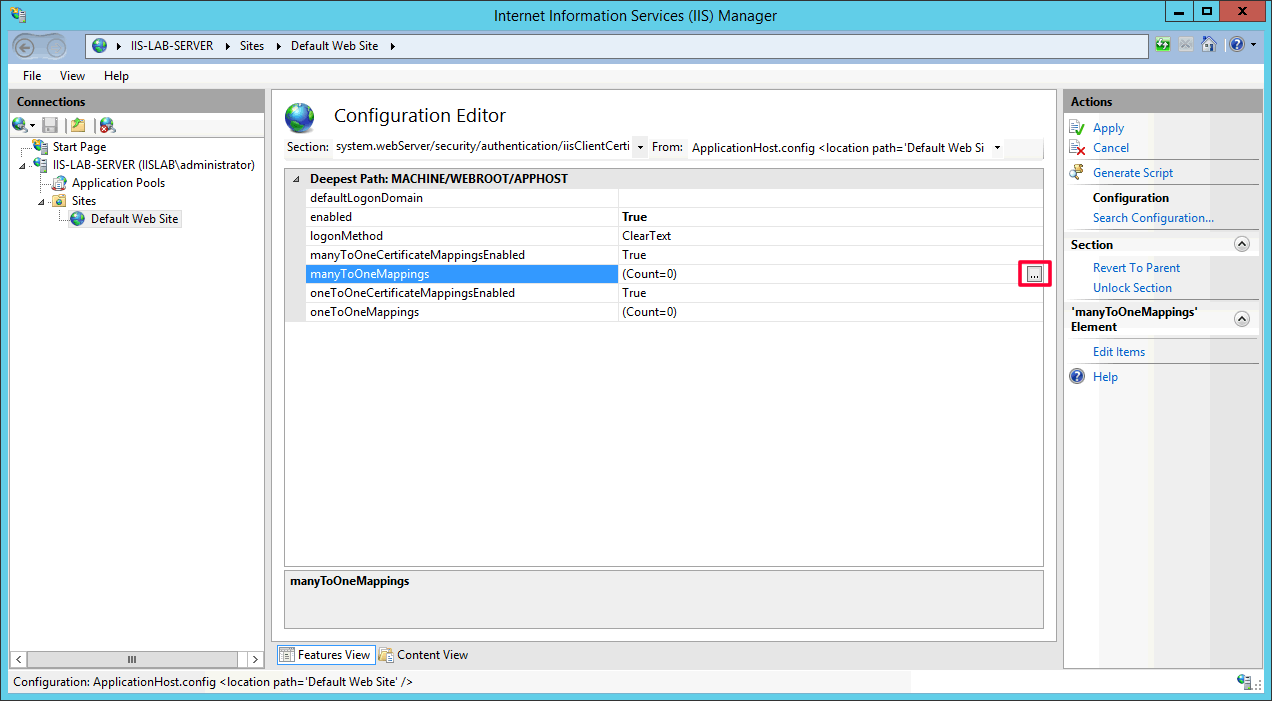
- Choose
Trueforenabled, click the...button inmanyToOneMappingsfield to add a many-to-one mapping rule.
- Click
Add.
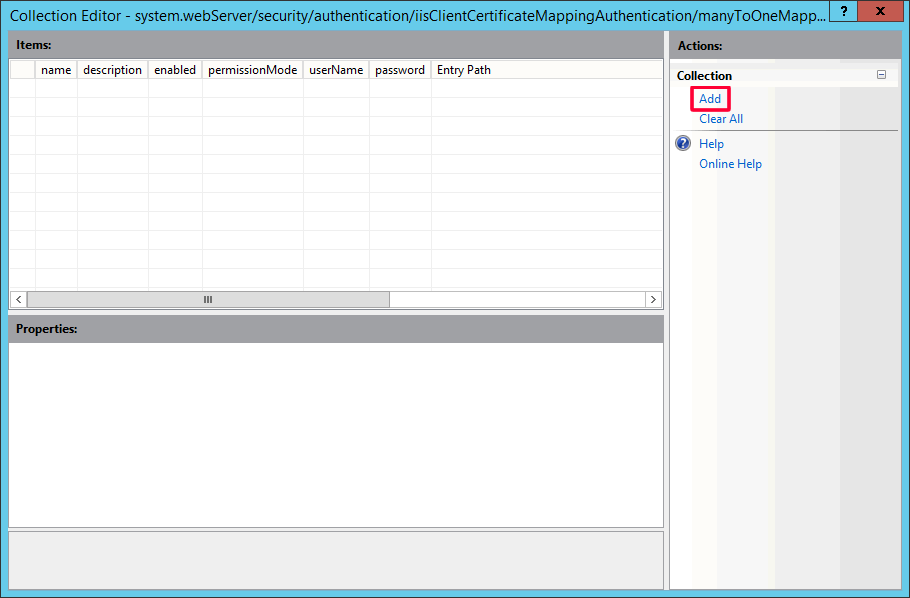
Configure as below.
description Whatever description text enable True name Whatever name password The login password of the windows account you want the certificate to be mapped to permissionMode Allow rules You can add rules as you want, like let the server to check whether the certificate is signed by the correct CA root. userName The windows account you want the certificate to be mapped to
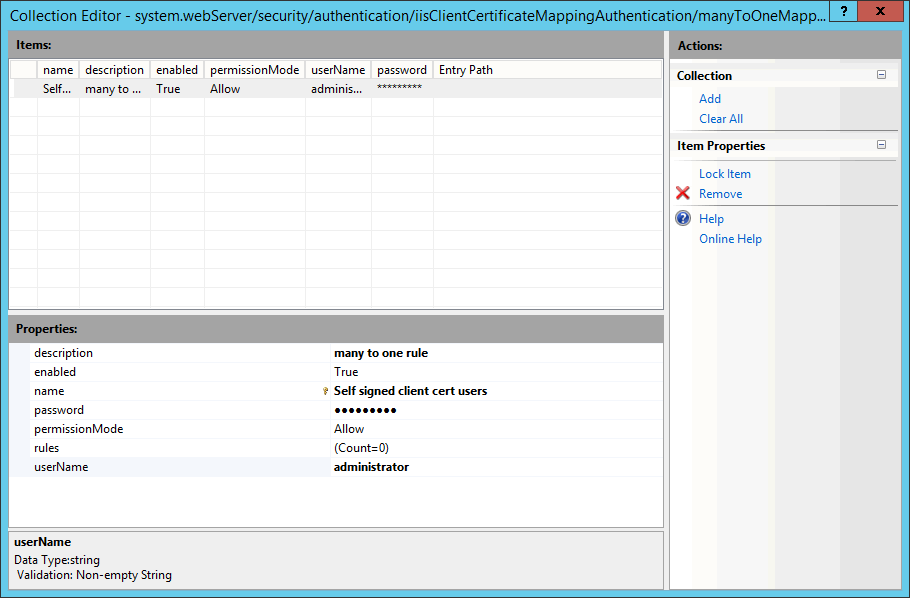
- Close the window after you complete configuration. You will see the count of
manyToOneMappingsincreases to 1. ClickApplyto save the changes.
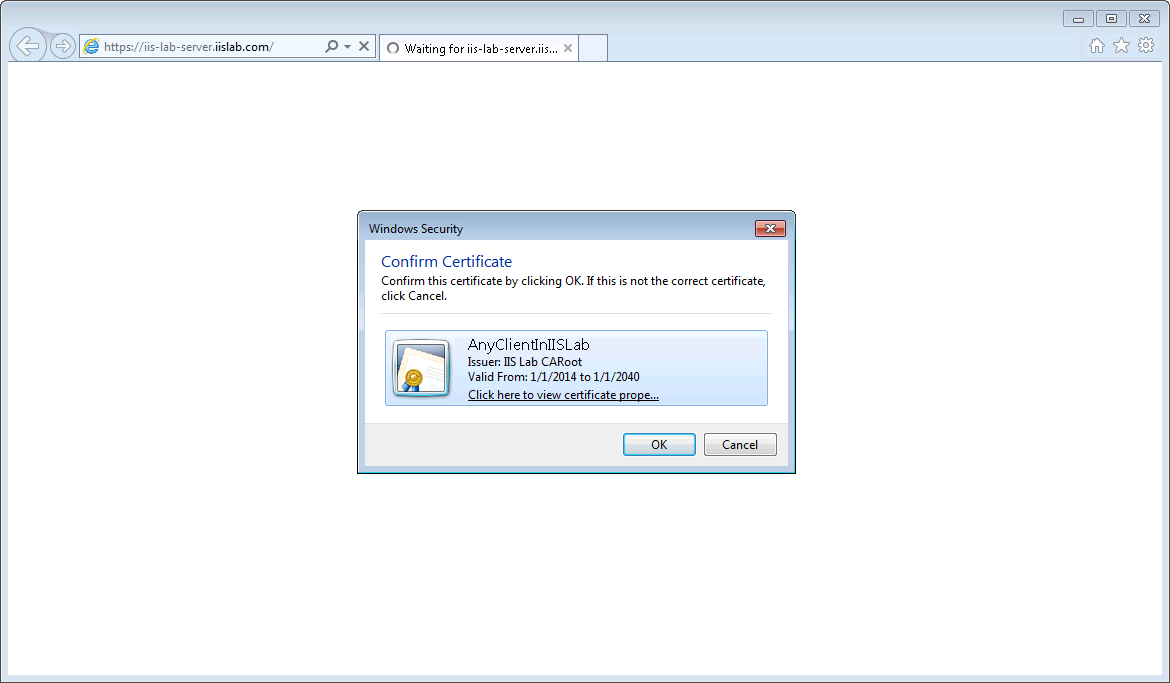
- Let's verify from the client machine, open IE and browse to https://iis-lab-server.iislab.com, you will see the client certificate selection prompt. The website can be accessed by choosing the self-signed client certificate we created. If you cancel the prompt (means not using any client certificate) or choose a wrong client certificate, you will encounter 403 Access Denied error.
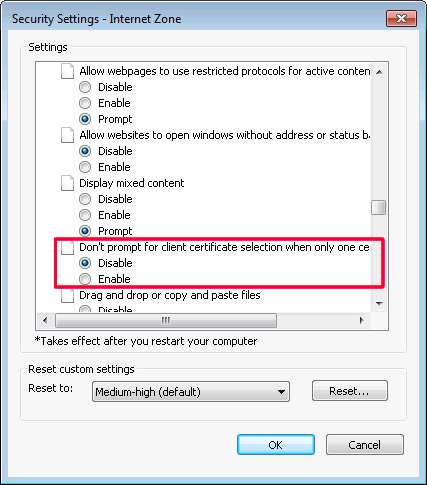
- If you don't see the client certificate selection prompt, it might because you have only one client certificate exists and IE security setting:
Don't prompt for client certificate selection when only one certificate existsis enabled. You should be able to see the prompt after disabling the setting of the security zone that the site is mapped to.