When installing Windows from an ISO on a typical Intel-based PC, the process is usually straightforward—create a bootable USB drive, install the OS, and you're good to go. However, installing Windows on an ARM-based device like the Surface Pro X is a whole different story. This is because the standard ISO files don't include the necessary drivers for ARM-based devices. Therefore, you need to manually inject drivers and take additional steps to ensure everything works smoothly. In this guide, I will walk you through the detailed steps I used to successfully install a clean version of Windows 11 on my Surface Pro X.
Step 1: Download Windows 11 from UUPDump
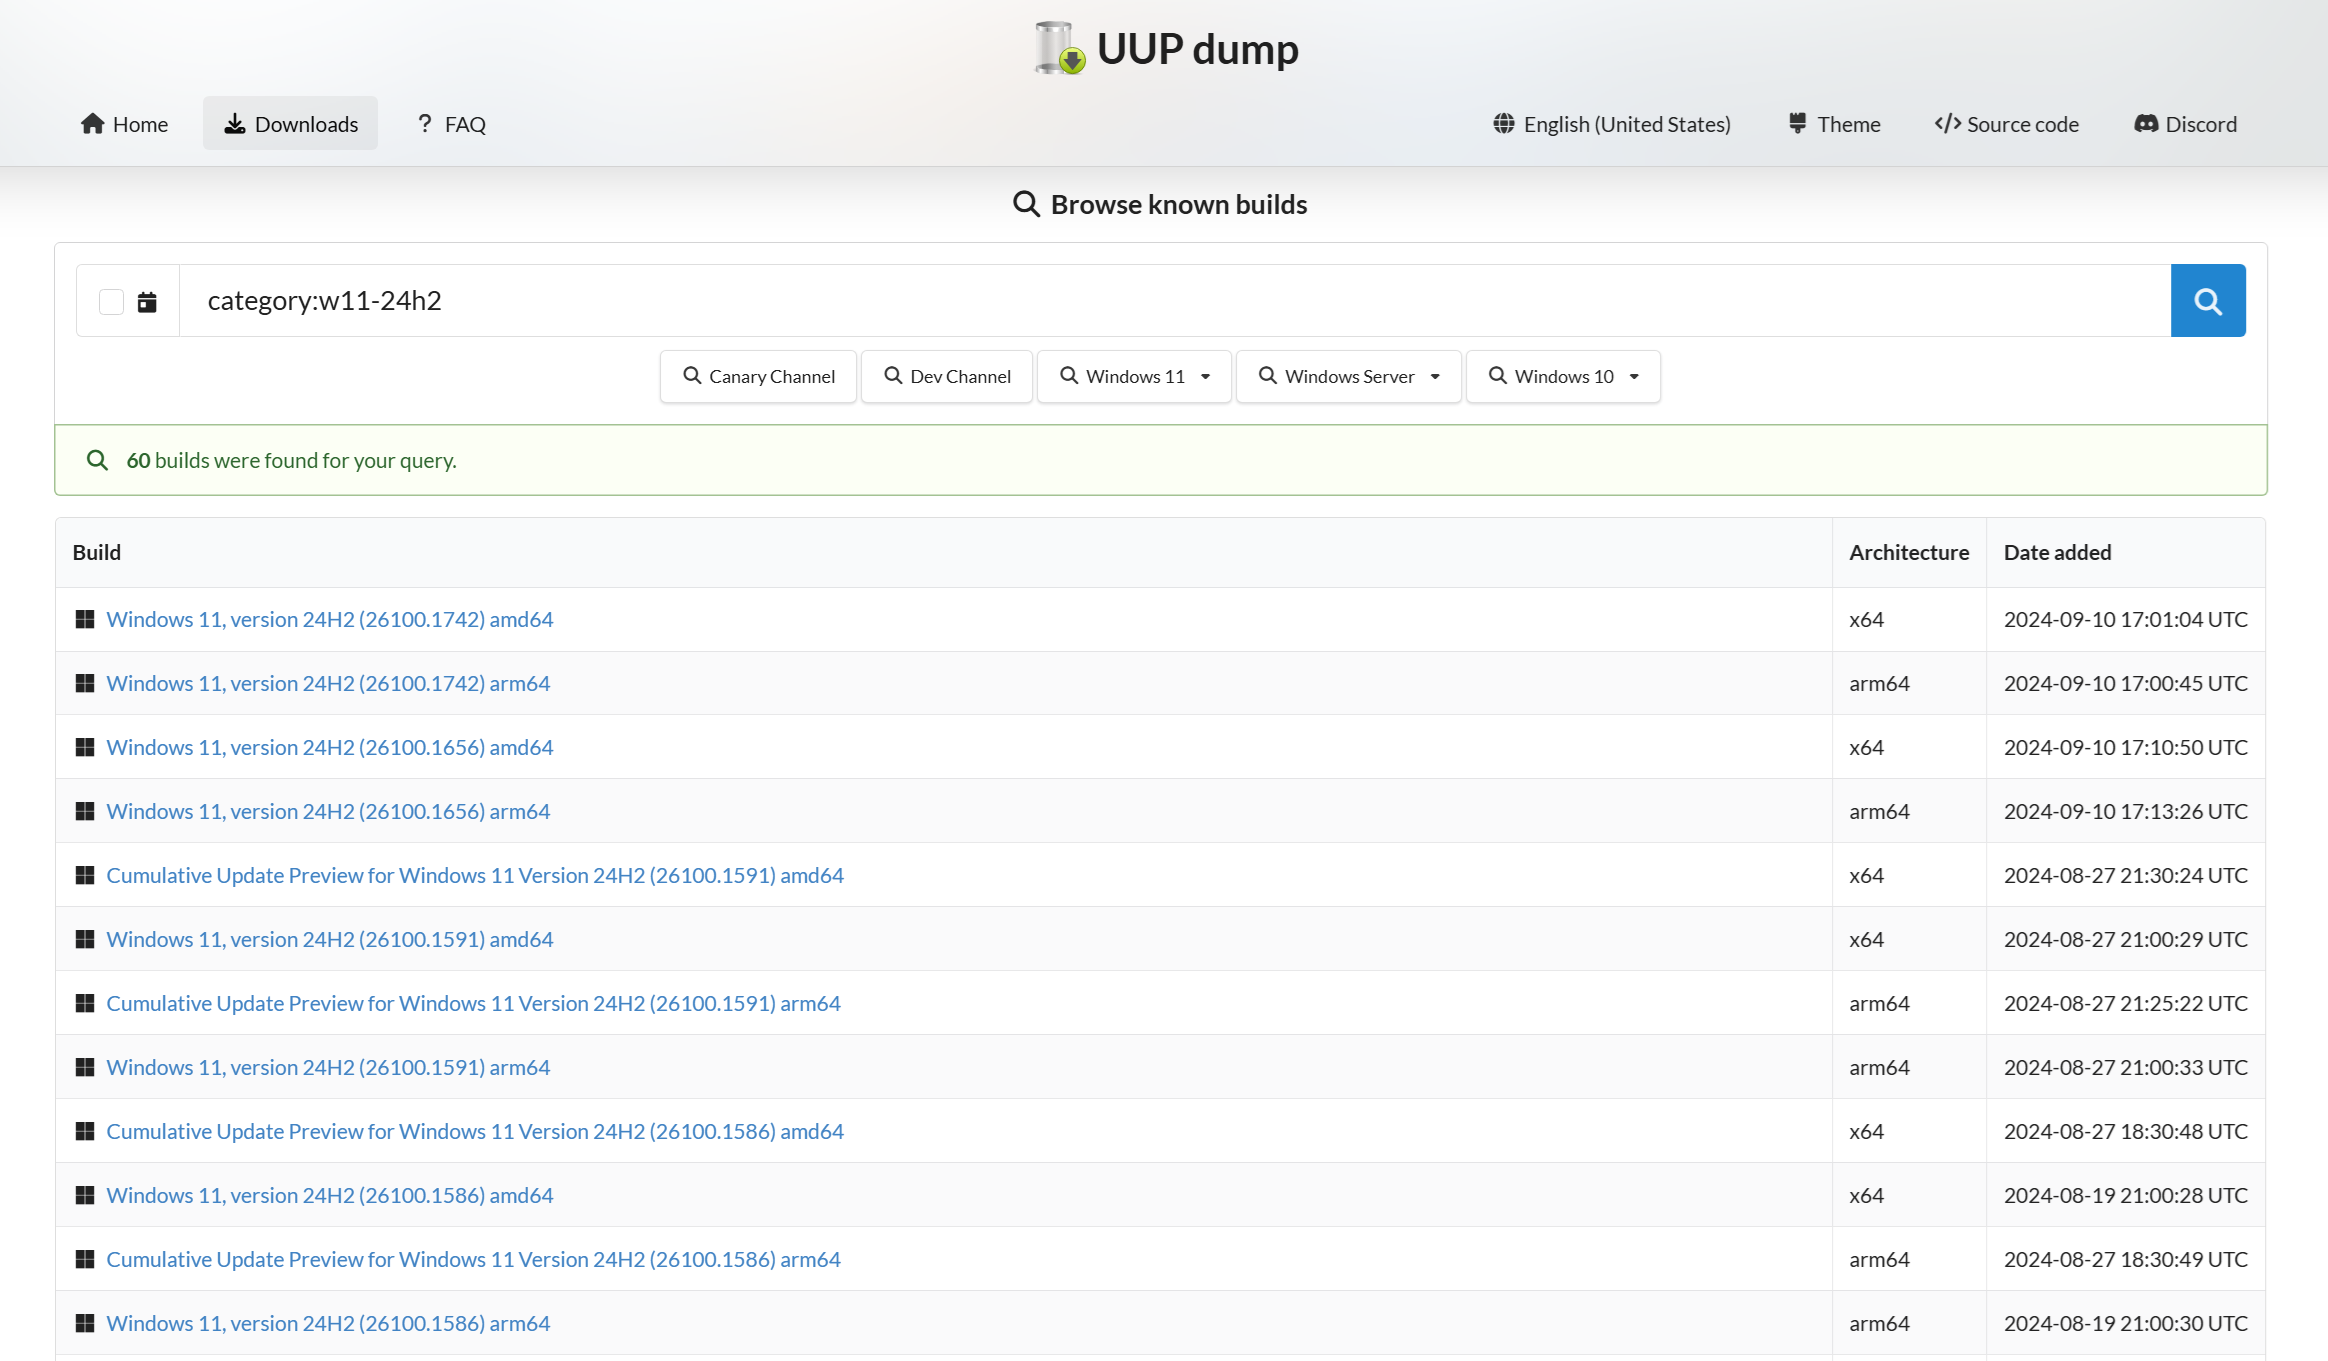
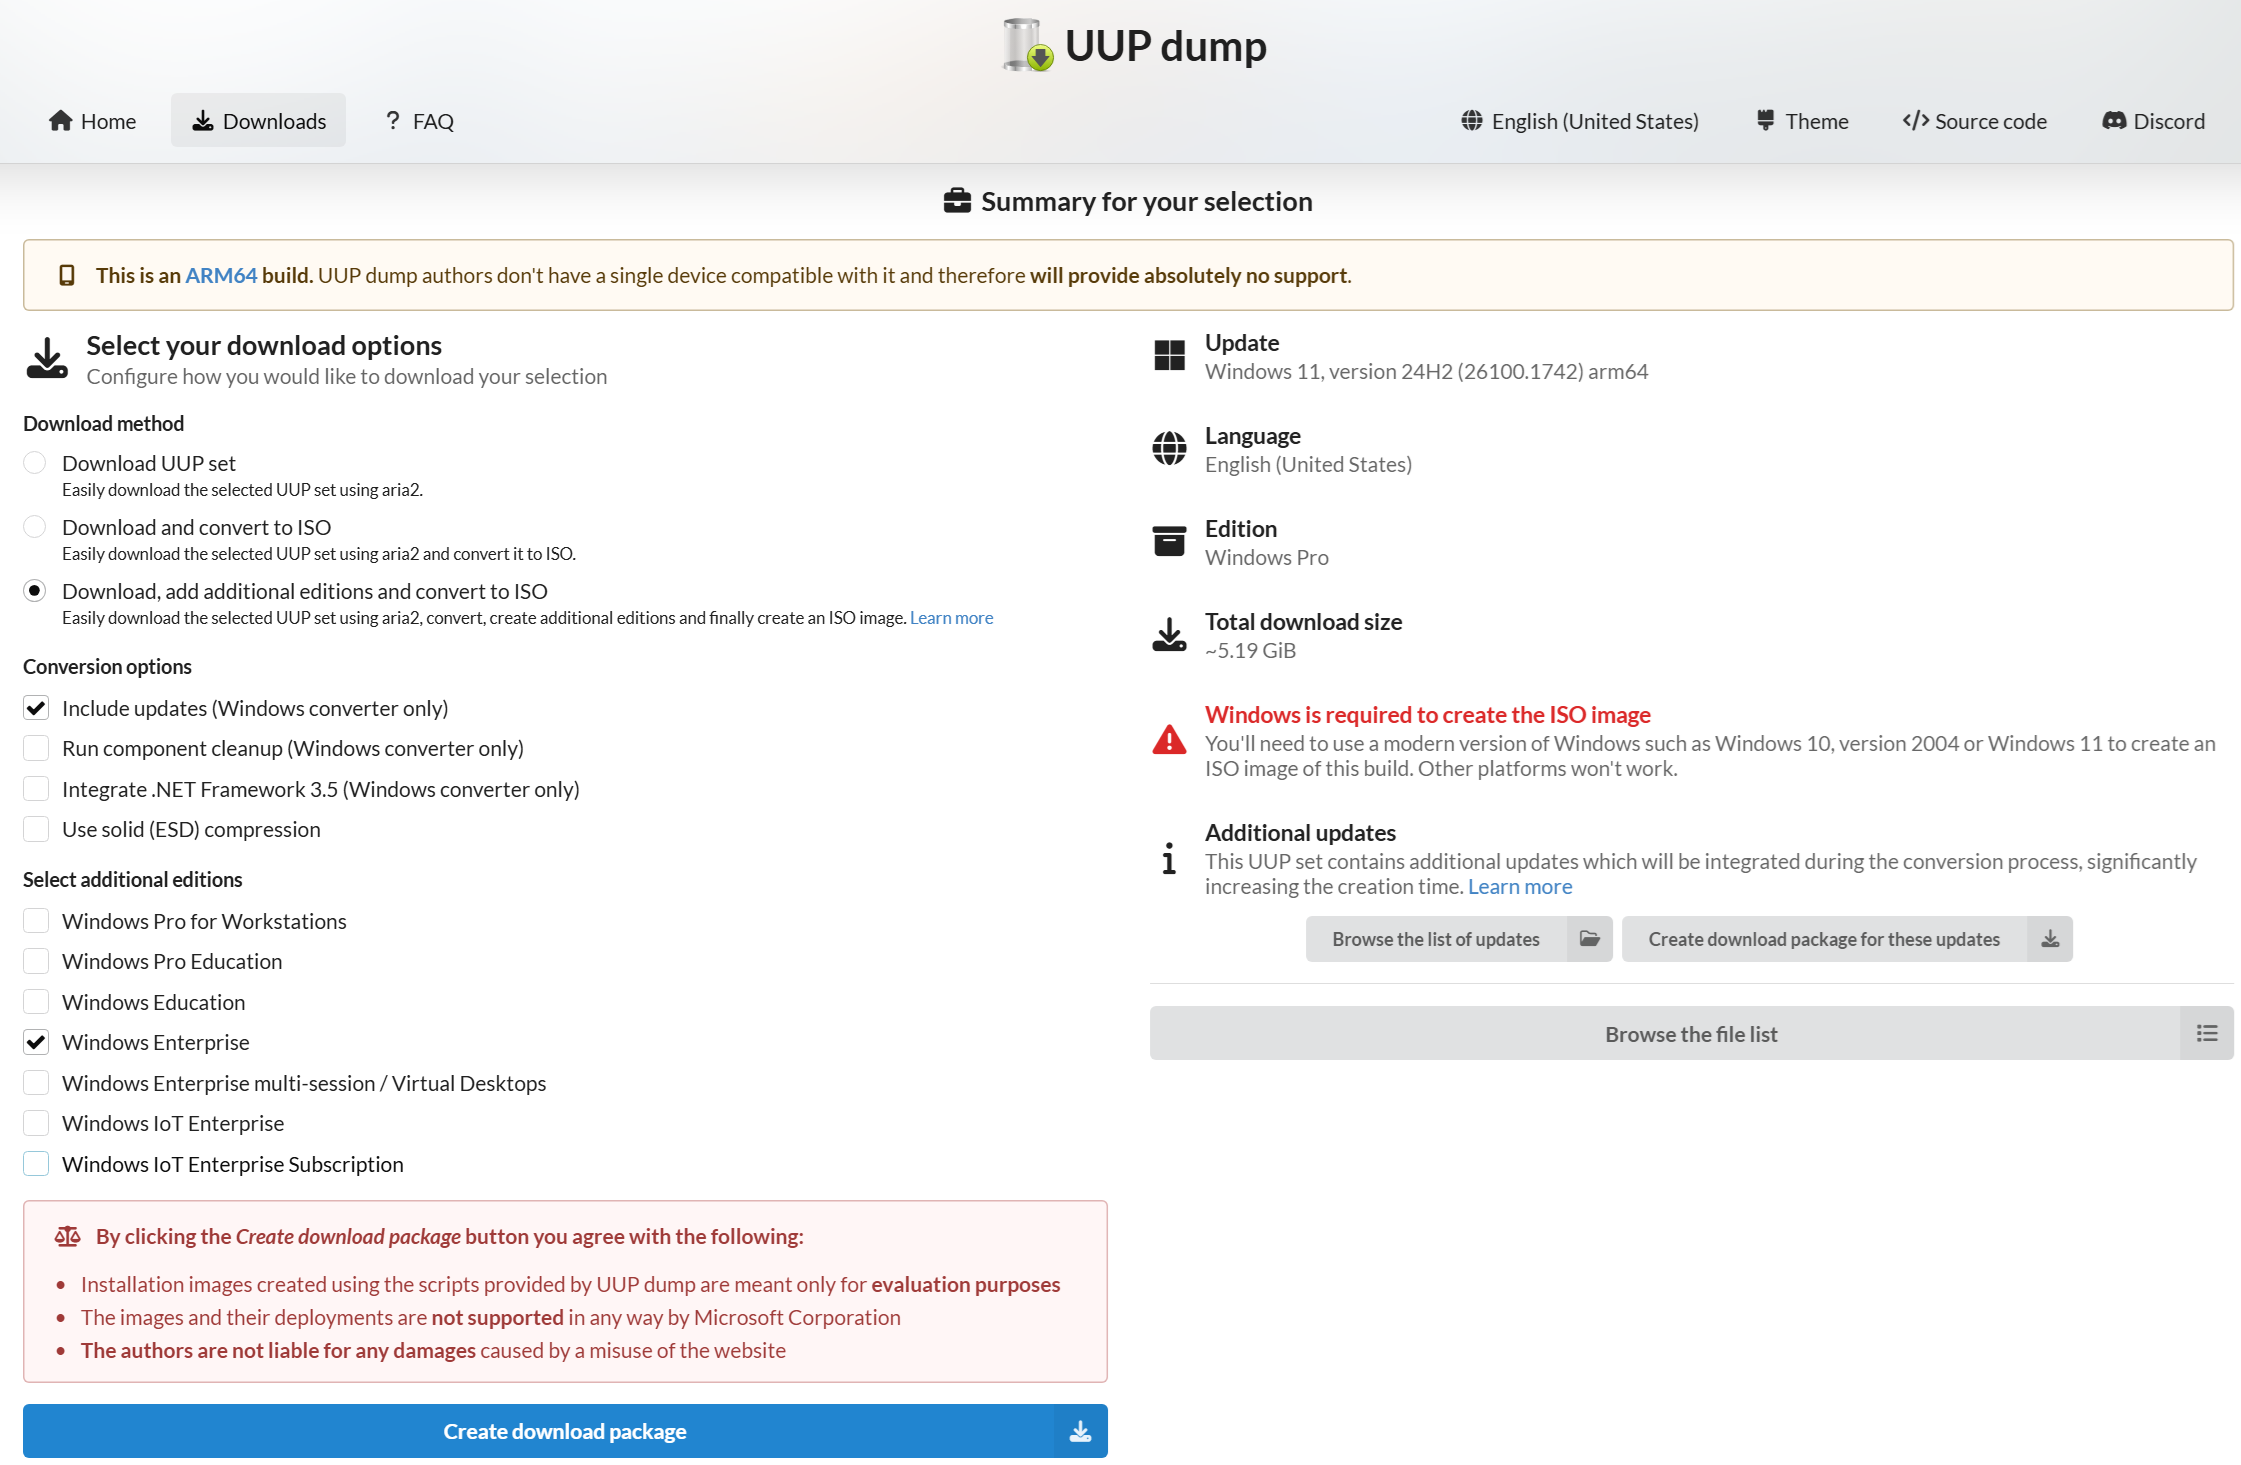
Head over to UUPDump to find the specific version of Windows 11 you want to install. Select the language and the edition (Windows Home, Pro, Education, Enterprise, etc.), then click Create download package.
Step 2: Build the ISO
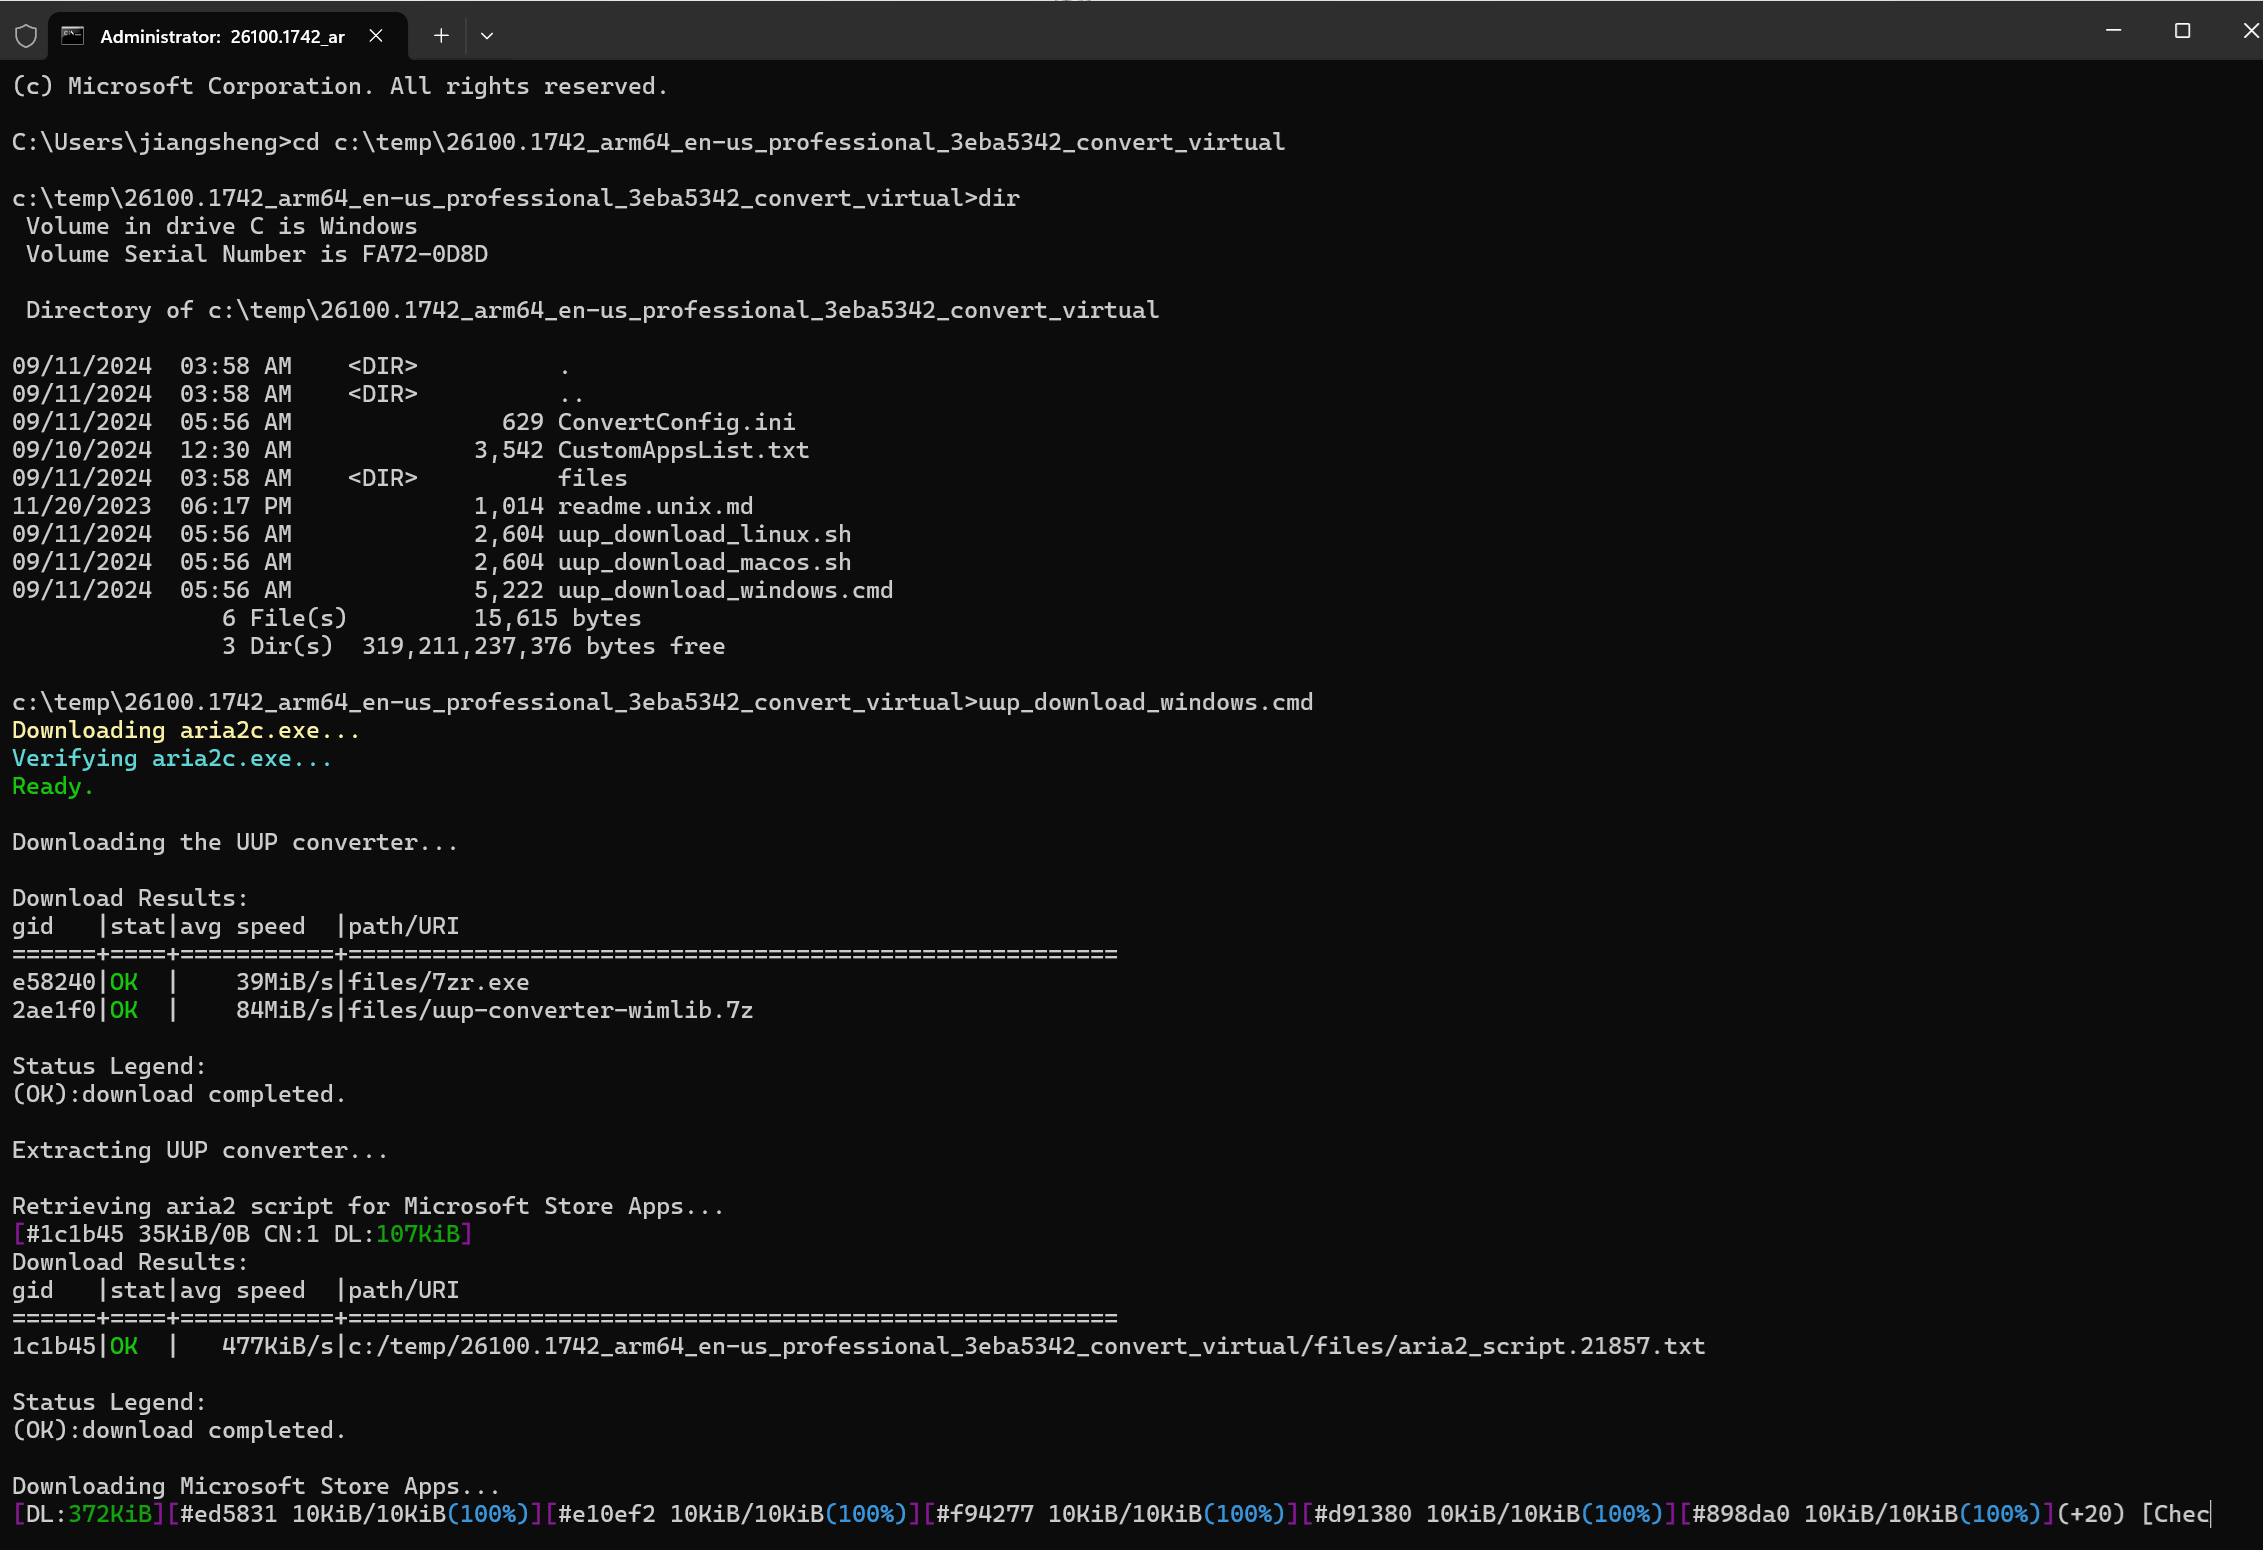
Once you've downloaded the ZIP file from UUPDump, extract it to a folder. Open Command Prompt as Administrator, navigate to the extracted directory, and run the script uup_download_windows.cmd to start downloading the necessary files and creating the ISO. Depending on your internet speed and system performance, this process can take anywhere from 30 minutes to a couple of hours.
Step 3: Download the Surface recovery image
While waiting for the ISO to be created, go to the Microsoft Surface recovery image website and download the recovery image specific to your Surface model.
Step 4: Download latest Surface drivers
Next, head over to the Surface Qualcomm Drivers GitHub page and download the latest ARM drivers for your specific Surface model. For example, at the time of writing, the latest drivers for my Surface Pro X with SQ2 processor are in this folder: Surface/8180_CAR/200.0.38.0. You can use the GitHub directory downloader to download just that specific folder.
Step 5: Extract the CAB drivers
Once you've downloaded the ZIP file containing over 100 .cab driver files, extract the ZIP to a folder, say C:\temp\arm-drivers. Next, you need to extract each CAB file to C:\temp\extracted-drivers. You can do this easily with the following batch script. Save the script as extract.bat and run it. Make sure to update the paths if your directories differ.
@echo off
set source_dir=C:\temp\arm-drivers
set dest_dir=c:\temp\extracted-drivers

if not exist "%dest_dir%" (
    mkdir "%dest_dir%"
)

for %%f in ("%source_dir%\*.cab") do (
    echo Extracting %%f to %dest_dir%
    expand "%%f" -F:* "%dest_dir%"
)

echo All done
pause
Step 6: Create the bootable USB
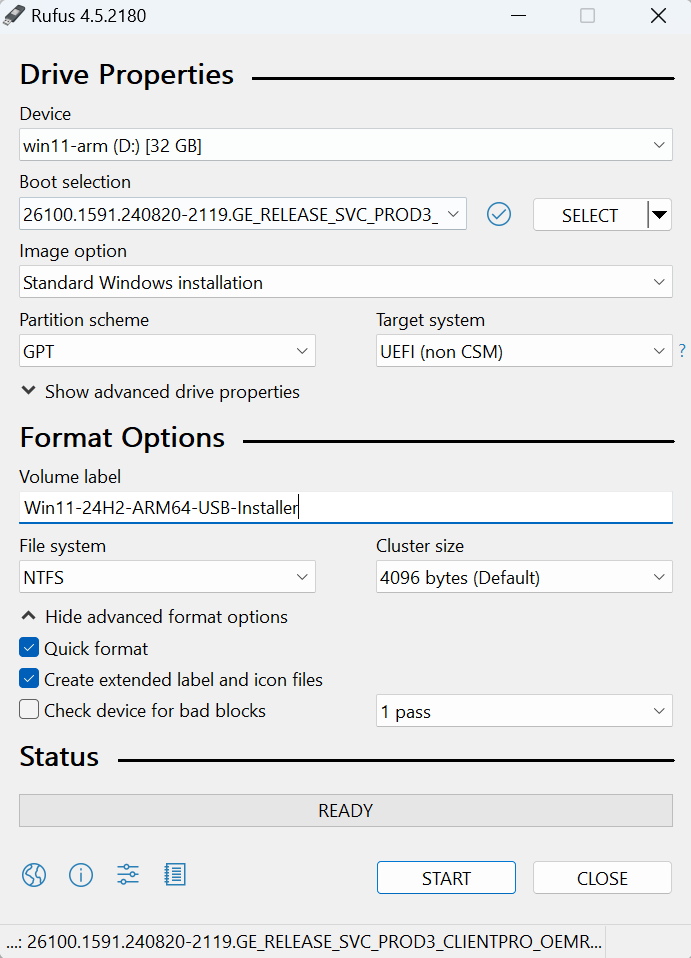
Once the ISO is ready, insert your USB drive and use Rufus to burn the ISO to the USB stick.
Step 7: Replace boot.wim with Recovery Image's boot.wim
Extract the Surface Recovery Image ZIP file you downloaded earlier and replace the boot.wim file from sources\boot.wim in the recovery image with the boot.wim on your USB drive (D:\sources\boot.wim if your USB drive maps to D drive).
Step 8: Download and copy required scripts
Download the necessary deployment scripts from https://go.microsoft.com/fwlink/?linkid=872894. I have also backed it up here in case the link goes down. Extract the ZIP and copy ApplyImage.bat and CreatePartitions-UEFI.txt from Deployment folder (or all scripts for broader support) to the root directory of your USB drive.
Step 9: Copy extracted drivers to the USB Drive
Copy the extracted driver folder: C:\temp\extracted-drivers to your USB drive.
Step 10: Boot into Surface UEFI and disable Secure Boot
Power off your Surface Pro X. Hold the Volume Up button and press the Power button to start your device and it will enter the UEFI settings. Disable Secure Boot and set USB boot to the highest priority.
Step 11: Boot from USB and enter Command Prompt
Insert the USB drive and boot from it. Choose your language, select Troubleshoot, and then select Command Prompt.
Step 12: Identify the USB drive
In Command Prompt, type: diskpart to enter DiskPart and type list volume to list volumes.
X:\Windows\System32>diskpart

Microsoft DiskPart version 10.0.22621.1

Copyright (C) Microsoft Corporation.
On computer: MININT-5VEB9S9

DISKPART> list volume

  Volume ###  Ltr  Label        Fs     Type        Size     Status     Info
  ----------  ---  -----------  -----  ----------  -------  ---------  --------
  Volume 0     C   Windows      NTFS   Partition    476 GB  Healthy
  Volume 1         SYSTEM       FAT32  Partition    100 MB  Healthy    Hidden
  Volume 2         Recovery     NTFS   Partition    500 MB  Healthy    Hidden
  Volume 3     D   Win11-24H2-  NTFS   Removable     28 GB  Healthy
  Volume 4     E   UEFI_NTFS    FAT    Removable   1039 KB  Healthy

DISKPART> exit

Leaving DiskPart...
Note the drive letter assigned to your USB drive (e.g., D:), then type: exit to leave DiskPart.
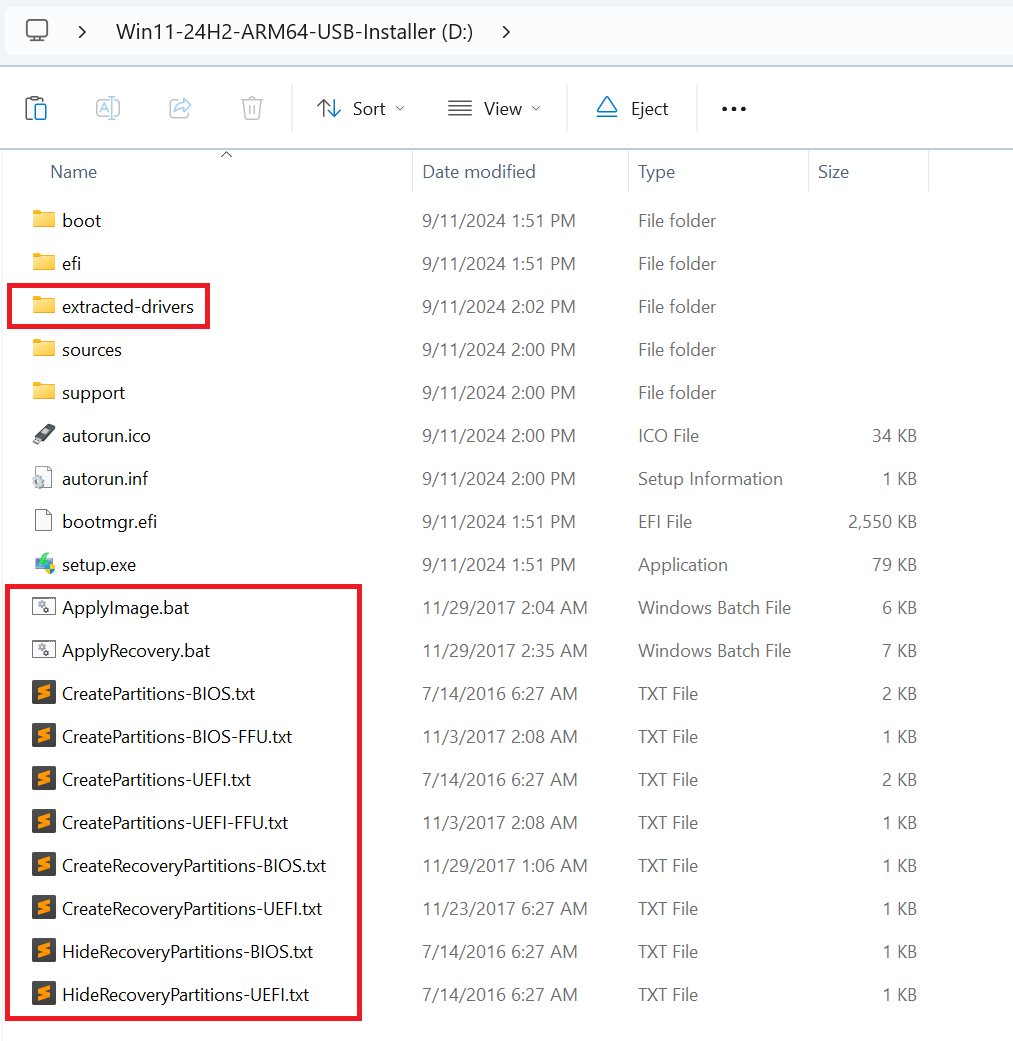
Navigate to the USB drive by typing D: and confirm you can see the files by running dir. You should see ApplyImage.bat listed.
D:\>dir
 Volume in drive D is Win11-24H2-ARM64-USB-Installer
 Volume Serial Number is 109F-D2C7

 Directory of D:\

11/28/2017  10:04 AM             6,044 ApplyImage.bat
11/28/2017  10:35 AM             6,985 ApplyRecovery.bat
09/10/2024  10:00 PM            34,494 autorun.ico
09/10/2024  10:00 PM               246 autorun.inf
09/10/2024  10:07 PM    <DIR>          boot
09/10/2024  09:51 PM         2,611,016 bootmgr.efi
11/02/2017  10:08 AM               667 CreatePartitions-BIOS-FFU.txt
07/13/2016  02:27 PM             1,036 CreatePartitions-BIOS.txt
11/02/2017  10:08 AM               863 CreatePartitions-UEFI-FFU.txt
07/13/2016  02:27 PM             1,305 CreatePartitions-UEFI.txt
11/28/2017  09:06 AM               576 CreateRecoveryPartitions-BIOS.txt
11/22/2017  02:27 PM               631 CreateRecoveryPartitions-UEFI.txt
09/10/2024  09:51 PM    <DIR>          efi
09/10/2024  10:02 PM    <DIR>          extracted-drivers
07/13/2016  02:27 PM               118 HideRecoveryPartitions-BIOS.txt
07/13/2016  02:27 PM               187 HideRecoveryPartitions-UEFI.txt
09/10/2024  09:51 PM            80,312 setup.exe
09/10/2024  10:00 PM    <DIR>          sources
09/10/2024  10:00 PM    <DIR>          support
              14 File(s)      2,744,480 bytes
               5 Dir(s)  23,145,111,552 bytes free
Step 13: Determine the Correct Edition Index
The ApplyImage.bat script, by default, installs the edition with Index 1 from the provided WIM file. If your ISO contains multiple editions (e.g., Windows 11 Pro, Windows 11 Enterprise), and you want to install a different edition, you’ll need to modify the script to specify the correct index.
To find the index number for the edition you want to install, run the following command in the Command Prompt:
dism /get-wiminfo /wimfile:D:\sources\install.wim
This will display a list of the available editions along with their corresponding index numbers. For example, if you see something like:
Deployment Image Servicing and Management tool
Version: 10.0.22621.1

Details for image : D:\sources\install.wim

Index : 1
Name : Windows 11 Pro
Description : Windows 11 Pro
Size : 25,809,399,717 bytes

Index : 2
Name : Windows 11 Enterprise
Description : Windows 11 Enterprise
Size : 25,811,284,070 bytes

The operation completed successfully.
If you want to install Windows 11 Enterprise, which is Index:2, you will need to edit the ApplyImage.bat script.
To do this, open the script in Notepad by running:
notepad ApplyImage.bat
Then, find lines 82 to 85 in the script where it references /Index:1, and change 1 to 2 (or the index number of the edition you want to install). This ensures that the correct edition is installed. If you're installing the edition at Index:1, you can skip this step.
Once edited, save the file and continue to the next step.
Step 14: Start Windows installation
To begin the installation of Windows, run the following command:
D:\ApplyImage.bat D:\sources\install.wim
This script will automatically handle the disk partitioning process using the diskpart command. It will create and assign the necessary partitions as follows:
W: for the Windows system partitionS: for the System (boot) partitionR: for the Recovery partition
DiskPart successfully assigned the attributes to the selected GPT partition.

  Volume ###  Ltr  Label        Fs     Type        Size     Status     Info
  ----------  ---  -----------  -----  ----------  -------  ---------  --------
  Volume 0     W   Windows      NTFS   Partition    476 GB  Healthy
  Volume 1     S   SYSTEM       FAT32  Partition    100 MB  Healthy    Hidden
* Volume 2     R   Recovery     NTFS   Partition    500 MB  Healthy    Hidden
  Volume 3     D   Win11-24H2-  NTFS   Removable     28 GB  Healthy
  Volume 4     E   UEFI_NTFS    FAT    Removable   1039 KB  Healthy

Leaving DiskPart...
As the script runs, it will prompt you with a few questions:
- Do you want to create a Recovery partition? — Select Y to create the recovery partition.
- Erase all data and continue? — Select Y to erase the existing data and proceed with the installation.
- Deploy as Compact OS? — Select N unless you specifically want a compact OS installation.
- Does this image include Extended Attributes? — Select N for this as well.
The script will take care of applying the Windows image to the W partition, and reconfiguring the disk partitions for optimal setup on your Surface device.
Step 15: Install Surface drivers
After the installation completes, add the Surface drivers by running dism /image:W: /add-driver /driver:D:\extracted-drivers /recurse.
D:\>dism /image:W: /add-driver /driver:D:\extracted-drivers /recurse

Deployment Image Servicing and Management tool
Version: 10.0.22621.1

Image Version: 10.0.26100.1742

Searching for driver packages to install...
Found 133 driver package(s) to install.
Installing 1 of 133 - D:\extracted-drivers\dax3_ext_qc_dolbyatmos_dolbyaccessoem.inf: The driver package was successfully installed.
Installing 2 of 133 - D:\extracted-drivers\dax3_qc_ext_bt.inf: The driver package was successfully installed.
Installing 3 of 133 - D:\extracted-drivers\dax3_swc_aposvc_arm64.inf: The driver package was successfully installed.
Installing 4 of 133 - D:\extracted-drivers\dax3_swc_hsa_arm64.inf: The driver package was successfully installed.
Installing 5 of 133 - D:\extracted-drivers\HalExtQCWdogTimer8180.inf: The driver package was successfully installed.
...
...
Installing 132 of 133 - D:\extracted-drivers\SurfaceVirtualFunctionEnum.inf: The driver package was successfully installed.
Installing 133 of 133 - D:\extracted-drivers\WbfUsbDriver.inf: The driver package was successfully installed.
The operation completed successfully.
Step 16: Reboot and complete installation
Remove the USB drive and reboot your Surface Pro X. You should now have a clean installation of Windows 11 with all necessary drivers.